How to Do Gel Nails at Home: Step-by-Step Guide for Beginners (Avoid Common Mistakes in 2026)

Salon prices keep climbing. Your schedule keeps shrinking. And honestly? You deserve beautiful nails without booking an appointment three weeks in advance. Learning how to do gel nails at home has never been more accessible and with the right tools, the right steps, and a little patience, you can absolutely nail it (pun intended).
This guide covers everything. From understanding what gel nails actually are, to building your perfect kit, applying like a pro, and removing safely it’s all here. Whether you’re a total beginner or someone who’s tried and failed before, this is the only guide you’ll need in 2026.
What Are Gel Nails and How to Do Gel Nails at Home?
Gel nails are a type of nail enhancement that uses a special gel-based formula instead of regular nail polish. Unlike standard polish that air-dries, gel stays soft and workable until you expose it to a UV or LED lamp then it hardens completely in seconds. That’s the magic behind gel nails vs regular polish differences: one dries on its own and chips within days, while the other cures into a rock-hard, glossy finish that lasts weeks.
The science behind it is surprisingly simple. Gel polish contains compounds called photoinitiators. When UV or LED light hits them, a chemical reaction called polymerization kicks in the liquid gel transforms into a solid, chip-resistant coating. Think of it like baking a cake. The oven (your lamp) is what actually finishes the job.
UV vs LED Curing What’s the Difference?
This is one of the most common questions beginners ask. Both lamps cure gel but they work differently and at different speeds.
| Feature | UV Lamp | LED Lamp |
| Cure Time | 2–3 minutes per coat | 30–60 seconds per coat |
| Bulb Lifespan | Shorter, needs replacing | Long-lasting LEDs |
| Compatibility | Works with most gels | LED-specific gels only |
| Upfront Cost | Lower | Slightly higher |
| UV Exposure | Moderate | Minimal |
| Best For | Occasional use | Regular home use |
LED lamps are the better choice for how to do gel nails at home for beginners 2026. They’re faster, more energy-efficient, and safer for your skin with repeated use.
Why Do Gel Nails Last So Much Longer?
Regular polish sits on top of your nail. Gel actually bonds to it. Once cured, gel creates a hard shell that flexes slightly with your natural nail which means it doesn’t crack or chip the way regular polish does. A properly done chip resistant gel manicure can last two to three full weeks without so much as a scratch.
What You Need for Gel Nails at Home (Complete Kit List)
Before you sit down at your DIY nail station, you need the right tools in front of you. Running mid-application to find your nail file is a rookie mistake and it will ruin your results. Gel nail kit essentials aren’t complicated, but skipping even one item can cost you the whole manicure.
Getting your kit together isn’t about spending a fortune. It’s about being prepared. A complete setup means fewer mistakes, smoother application, and a finish you’ll actually be proud of.
Essential Tools and Products
These are your non-negotiables. Don’t start without them.
“The difference between a gel manicure that lasts three weeks and one that lifts in three days almost always comes down to preparation and tools.” Nail technicians say this constantly, and they’re right.
Your complete checklist for a proper at home gel nail routine:
- ✅ Nail file (180 grit for shaping, 240 grit for smoothing)
- ✅ Buffer block (4-sided for prep)
- ✅ Cuticle pusher (metal or orangewood stick)
- ✅ Lint-free wipes (not cotton cotton leaves fibres)
- ✅ Nail dehydrator and primer
- ✅ Gel nail application guide-approved base coat
- ✅ Gel colour polish (your chosen shades)
- ✅ Gel top coat
- ✅ UV or LED nail lamp (minimum 36W recommended)
- ✅ Isopropyl alcohol (90% or higher)
- ✅ Pure acetone
- ✅ Cuticle oil
Optional Add-Ons for Better Results
Once you’ve done gel nails at home a few times, these extras genuinely elevate your results. They’re not essential for beginners but they’re worth adding as your confidence grows.
- Builder gel (for strength and structure)
- Nail forms or pre-made tips (for extensions)
- Electric nail drill (speeds up prep and removal)
- Nail art brushes and dotting tools
- Slip solution (needed for builder gel application)
- Gel stamping kit
- Foil nail clips (for cleaner acetone removal)
- UV-protective gloves (for lamp safety during curing)
Things to Know Before Doing Gel Nails at Home
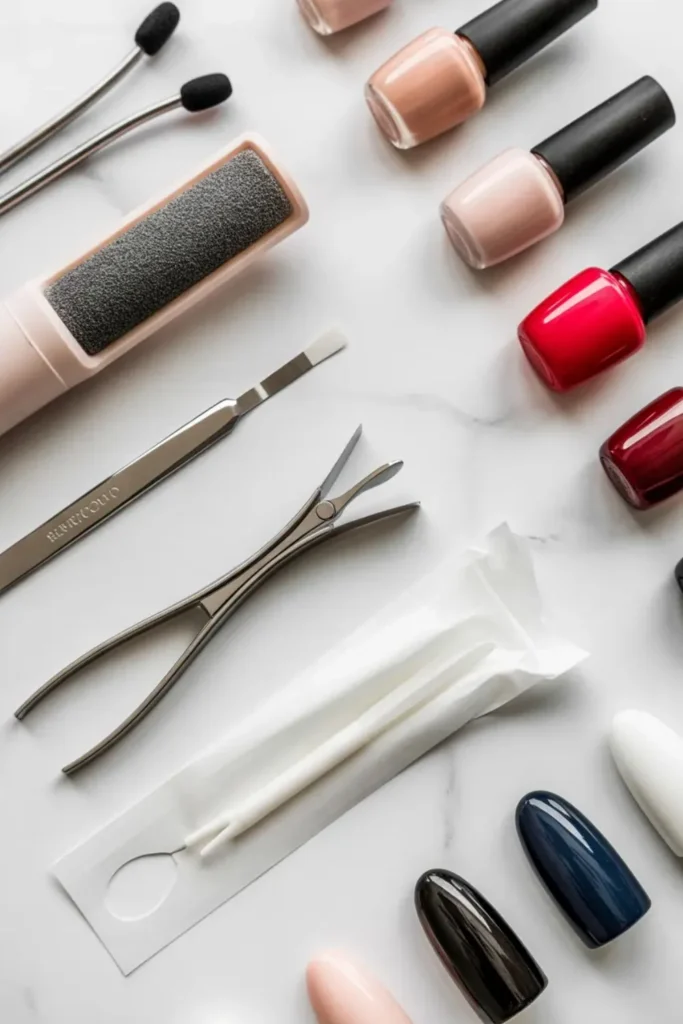
Here’s something nobody tells beginners: the application itself is actually the easy part. What trips most people up is everything that comes before and after. How to prep nails before gel polish application is genuinely the most important skill you’ll develop and it takes practice to get right.
Your nails need to be completely clean, dry, and free of any oils before you apply a single drop of gel. Even the natural oils from your fingertips can cause lifting. Proper nail surface preparation for gel is what separates a two-week manicure from one that starts peeling on day three.
See More About : 87 Neutral Leopard Nails Ideas That Look Expensive and Effortless in 2026
Key things to understand before you start:
- Gel nails require a UV or LED lamp. No lamp, no true gel full stop
- Your nail prep determines 80% of how long the gel lasts
- Skipping base coat almost guarantees peeling within days
- Gel on skin or cuticles will cause lifting always clean it off before curing
- Good ventilation matters gel fumes in an enclosed space aren’t pleasant
- Not all gel polishes work with all lamps check compatibility before buying
- Are gel nails safe for natural nails? Yes when applied and removed correctly
- If your nails are damaged, infected, or peeling, wait before applying gel
- First-time applications take 60–90 minutes don’t rush it
- Every time you do it, you’ll get faster and more confident
How to Do Gel Nails at Home (Step-by-Step for Beginners)
This is the part you’ve been waiting for. The DIY gel nails step by step process isn’t complicated but it is precise. Follow each step in order, don’t skip anything, and resist the urge to rush. This beginner gel nail tutorial will walk you through every single stage from bare nail to glossy, salon-worthy finish.
The good news? Once you’ve done this two or three times, it becomes second nature. Your hands get steadier. Your eye gets sharper. And your results get genuinely impressive.
Step 1: Gather Your Materials
Set everything out before you touch your nails. Arrange your tools in the order you’ll use them file, buffer, cuticle pusher, dehydrator, base coat, colour, top coat, lamp. Having everything within arm’s reach means you won’t accidentally touch your prepped nails while scrambling for something.
Pro tip: Sit near a power outlet for your lamp. Work on a clean, flat surface with good overhead lighting. Natural daylight is ideal because it helps you spot any uneven coverage.
⏱ Time needed: 5 minutes
Step 2: Prepare Your Nails
Nail surface preparation for gel is everything. This single step determines whether your manicure lasts two weeks or two days. Don’t rush it.
Here’s exactly what to do:
- Remove old polish use pure acetone on a lint-free wipe, not a cotton pad
- Trim your nails to your desired length using nail clippers
- Shape your nails with a 180-grit file file in one direction only, never saw back and forth
- Gently buff the surface remove all shine from the nail plate using a buffer
- Push back cuticles use a cuticle pusher carefully, never cut aggressively
- Apply nail dehydrator swipe across each nail, let it evaporate completely
- Apply primer (if using) a thin layer, let it dry
- Final wipe lint-free wipe with isopropyl alcohol, one swipe per nail
Important: Don’t touch your nails after this final wipe. Skin oils transfer instantly and will compromise your adhesion.
⏱ Time needed: 10–15 minutes
Step 3: Apply the Base Coat
Base coat gel application is your foundation. Everything else sits on top of this layer so get it right.
Apply a thin, even layer of gel base coat to each nail. Brush from the cuticle edge (without touching it) to the tip. Then seal the free edge by running the brush across the tip of your nail this step alone prevents tip chipping significantly.
Key rules for base coat:
- Thin is always better one smooth layer is enough
- If gel touches your skin or cuticle, clean it off with a small brush dipped in isopropyl alcohol before curing
- Cure under your LED lamp for 30–60 seconds or UV lamp for 2 minutes
- Don’t wipe the base coat after curing the tacky layer helps your colour bond
⏱ Time needed: 5–8 minutes
Step 4: Apply the Gel Color
Now for the fun part. This is where the gel polish layering technique really matters. Two thin coats almost always give better results than one thick coat, no exceptions.
Apply your first layer of gel colour in smooth, thin strokes. Start at the cuticle edge, sweep to the tip, seal the free edge. Cure under your lamp. Then apply your second coat exactly the same way and cure again. Some shades especially pastels, whites, and metallics, need a third coat for full opacity.
Streak-free gel polish tips that actually work:
- Load your brush with a small amount of product less than you think you need
- Use three strokes: one down the centre, one on each side
- Don’t press too hard let the brush glide
- Work quickly gel can self-level slightly, but not if you overwork it
- Check each nail under your lamp light before curing to spot any missed edges
- How to avoid streaky gel polish application always apply in the same direction
⏱ Time needed: 10–15 minutes
Step 5: Cure Under UV/LED Lamp
Proper curing is non-negotiable. How to cure gel nails properly at home and specifically how long to cure gel polish LED lamp is something a lot of beginners get wrong.
Under-cured gel feels slightly squishy or soft when you press it. It dents easily and won’t hold its shape. Over-cured gel can become brittle over time. Properly cured gel is completely firm and smooth to the touch.
| Gel Type | LED Lamp Cure Time | UV Lamp Cure Time |
| Base coat | 30–60 seconds | 2 minutes |
| Gel colour (each coat) | 30–60 seconds | 2 minutes |
| Top coat | 60 seconds | 2–3 minutes |
| Builder gel | 60–120 seconds | 3 minutes |
One important rule: keep your hand completely still inside the lamp. Don’t peek. Don’t pull your hand out halfway through. Partial curing means uneven hardness and that leads to lifting.
⏱ Time needed: varies by coat count
Step 6: Apply the Top Coat
Gel top coat sealing technique is what gives your manicure that mirror-like, salon-quality finish. This step also locks in your colour and adds another layer of chip protection.
Apply one smooth, even layer of gel top coat across each nail. Seal the free edge this is just as important here as in every other step. Cure under your lamp for the full recommended time. Don’t shortcut this one.
Top coat tips worth knowing:
- A quality top coat genuinely transforms DIY results into something that looks professional
- Matte top coats are available if you prefer a non-shiny finish
- Some top coats have a sticky inhibition layer after curing that’s normal
- Glossy gel nail finish comes from a no-wipe top coat or wiping with isopropyl after curing
⏱ Time needed: 5 minutes
Step 7: Cleanse and Finish
These are your gel nail finishing steps and they matter more than you’d think.
Wipe each nail with isopropyl alcohol on a fresh lint-free wipe. This removes the inhibition layer (the tacky residue left after curing) and reveals your true finish. Your nails should now be completely firm, non-sticky, and beautifully glossy.
Then apply cuticle oil. Generously. Massage it into the skin around each nail for about 30 seconds per hand. This step hydrates your cuticles, makes your skin look healthy alongside your fresh manicure, and actually helps your gel last longer by keeping the surrounding skin supple.
You’re done. That’s a complete gel manicure at home from bare nail to beautiful finish.
| Full Application Timeline | Time |
| Beginner (first few times) | 60–90 minutes |
| Intermediate (a few weeks in) | 35–50 minutes |
| Confident DIYer | 20–30 minutes |
How to Do Gel Nails at Home Without UV Light
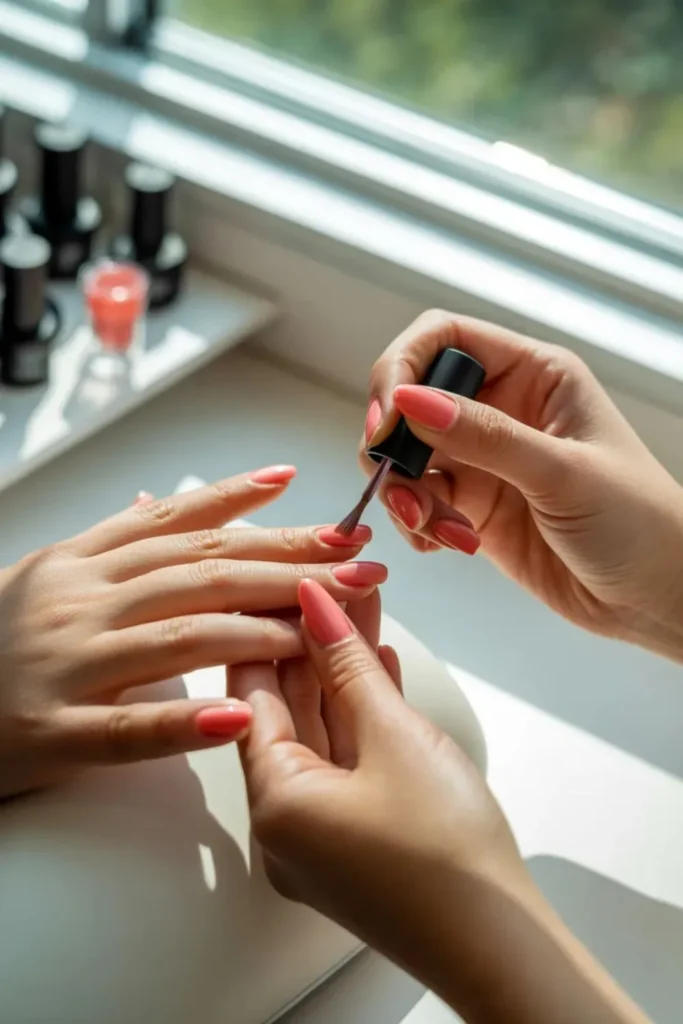
Let’s clear something up immediately because there’s a lot of confusion around this topic. Gel nails at home without UV or LED lamp as in, true gel nails aren’t really possible. Authentic gel polish requires light exposure to cure. Without it, the gel simply won’t harden properly. What you’ll find marketed as “no-light gel” is actually a thicker, gel-like nail polish not real gel.
That said, these products aren’t worthless. They’re a solid option if you want something more durable than regular polish but aren’t ready to invest in a full kit. What are gel-like nail polishes without lamp think Sally Hansen Miracle Gel, Essie Gel Couture these air-dry and deliver a shinier, longer-lasting finish than standard polish, but they typically last 5–7 days rather than 2–3 weeks.
Important Distinction:
| Type | Curing Method | Durability |
| True gel nails | UV or LED lamp required | 2–3 weeks |
| Gel-like polish (no lamp) | Air-dry | 5–7 days |
| Builder gel | LED/UV lamp required | 3–4 weeks |
If lasting wear matters to you and it probably does, since you’re reading this guide invest in a proper LED lamp. It’s the single most important purchase in your entire gel nail kit essentials setup.
How to Do Gel Nails at Home with Builder Gel
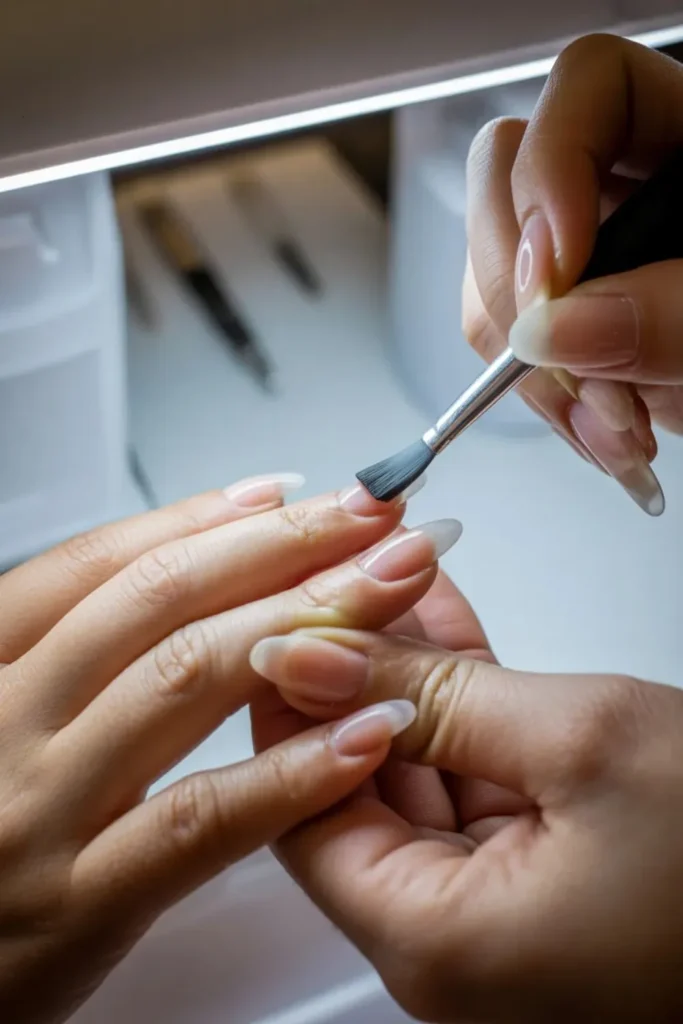
Builder gel is the next level up from regular gel polish and it’s worth understanding. While standard gel polish is thin and designed purely for colour, builder gel is thick, structured, and designed to add real strength to your nails. A builder gel overlay at home is essentially a protective shell over your natural nail, it adds durability, corrects shape, and gives your colour something solid to sit on.
The builder gel nails at home tutorial process is slightly different from regular gel. You apply a thicker layer (sometimes using nail forms for shape), smooth it with a slip solution before it cures, and then cure for a longer time. It takes practice but the payoff is a manicure that genuinely rivals professional salon work.
See More About : 86 Leopard Print Nails That Look Expensive Without Trying Too Hard
| Feature | Regular Gel Polish | Builder Gel |
| Consistency | Thin, like polish | Thick, like putty |
| Adds strength | Minimal | Significant |
| Can build extensions | No | Yes (short ones) |
| Skill level needed | Beginner-friendly | Intermediate |
| Cure time | 30–60 seconds | 60–120 seconds |
| Best for | Colour and shine | Strength and structure |
How to Do Gel Nails at Home on Natural Nails
How to apply gel polish on natural nails safely is simpler than most people assume. You don’t need tips, forms, or extensions. Your natural nail is actually the ideal canvas and a gel overlay applied directly onto it is one of the healthiest ways to wear gel. This gels nails on natural nails guide is straightforward: prep, base coat, colour coats, top coat, cure at every stage. The result is a strengthened, beautiful natural nail with a professional finish. No length added just protection and shine.
Tips to Make Your Gel Nails Last Longer
Getting your gel on is one thing. Keeping it perfect for two-plus weeks is another. These long lasting gel manicure tips are what professional nail technicians actually tell their clients and most people never hear them.
Gel nail maintenance routine that actually extends wear:
- Avoid water for at least 4–6 hours after application water causes the gel to expand slightly and can lift edges
- Wear gloves for household tasks washing up, cleaning, and gardening are the three biggest gel killers
- Apply cuticle oil daily this is probably the most underrated tip; hydrated skin around the nail prevents edge lifting
- Never pick or peel this pulls off actual layers of your nail plate along with the gel
- Use SPF on your hands UV exposure can yellow lighter gel shades over time
- Cap your free edge every single coat base, colour, and top coat all need edge sealing
- Avoid acetone-based hand sanitisers they break down gel polish over time
- Keep showers short in the first 24 hours prolonged moisture exposure early on can cause lifting
- Stop using your nails as tools opening ring pulls, scratching labels, and prying things open destroys gel tips
How to make gel nails last longer naturally comes down to one thing above all else: aftercare. The application matters but what you do in the days after matters just as much.
Best Gel Nail Kits for Home Use
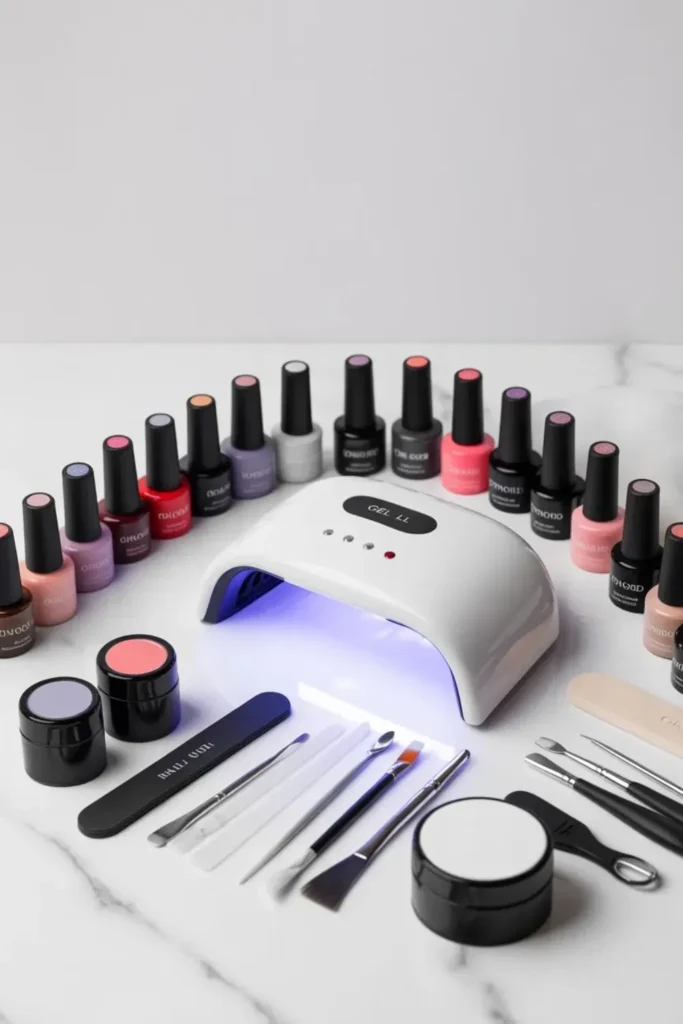
The affordable gel nail kits 2026 market is absolutely flooded with options and not all of them are worth your money. Some kits come with underpowered lamps, watery polishes, and no instructions. The kits below are genuinely well-rated, widely available, and represent the best at home nail kits UK USA across three different budgets.
Are at home gel nail kits worth it 2026? Absolutely especially when you consider that a single salon gel manicure costs what many of these complete kits cost. After three or four home applications, the kit has already paid for itself.
See More About : 84 Bold Nail Designs That Actually Hold Up in Real Life (2026 Guide)
Best Budget Gel Nail Kit
For first-timers who want to try how to do gel nails at home for beginners 2026 without spending big, these kits deliver solid results at a low entry price.
| Pick | Brand | Price (approx.) | Best For |
| 🇺🇸 US | Beetles Gel Nail Polish Starter Kit | $25–$35 | First-time users |
| 🇬🇧 UK | BORN PRETTY Gel Nail Kit | £15–£28 | Budget-conscious beginners |
What to look for at budget level: minimum 24W lamp, at least a base coat, top coat, and 4–6 colour options included.
Best Beginner Kit
If you’re committing to a regular at home gel nail routine, these kits give you everything you need to do it properly including a reliable lamp.
| Pick | Brand | Price (approx.) | Best For |
| 🇺🇸 US | Modelones Gel Nail Polish Kit | $45–$65 | Regular home use |
| 🇬🇧 UK | Mylee Complete Gel Nail Kit | £40–£65 | Consistent quality seekers |
Best Professional Kit
For serious DIYers who want results that genuinely rival salon work these kits include professional-grade components.
| Pick | Brand | Price (approx.) | Best For |
| 🇺🇸 US | Makartt Builder Gel Kit | $80–$120 | Advanced home users |
| 🇬🇧 UK | The GelBottle Inc Starter Kit | £70–£110 | Professional-quality finish |
How to Remove Gel Nails Safely at Home
This is where most nail damage actually happens not during application, but during removal. How to remove gel nails without damage at home is genuinely important knowledge. Peeling, picking, or forcing gel off takes layers of your actual nail plate with it every single time. Do it enough and your nails will become paper-thin, bendy, and painful.
Safe gel nail removal tips are simple: be patient, use the right products, and never rush the process. The soak off gel removal at home method is the gold standard for beginners no electric drill needed.
Acetone Soak Off Gel Nails Step by Step
Acetone removal method gel nails done correctly, this causes zero damage:
- File the surface lightly buff the top coat to break the seal. Don’t file into your nail just remove the shine
- Soak a lint-free wipe in pure acetone use acetone, not regular nail polish remover
- Place the soaked wipe directly on your nail
- Wrap each fingertip in foil tight enough to hold, loose enough to remove easily
- Wait 10–15 minutes set a timer, don’t peek
- Gently slide the foil and wipe off the gel should be soft and wrinkled
- Use a cuticle pusher to gently slide off any remaining softened gel never scrape hard
- Buff lightly to remove any stubborn residue
- Apply cuticle oil immediately and follow with a rich hand cream
How often should you redo gel nails at home? Most nail professionals recommend every 2–3 weeks. Going beyond three weeks means significant nail growth at the base, which puts stress on the gel and increases lifting risk.
Risks and Downsides of Gel Nails
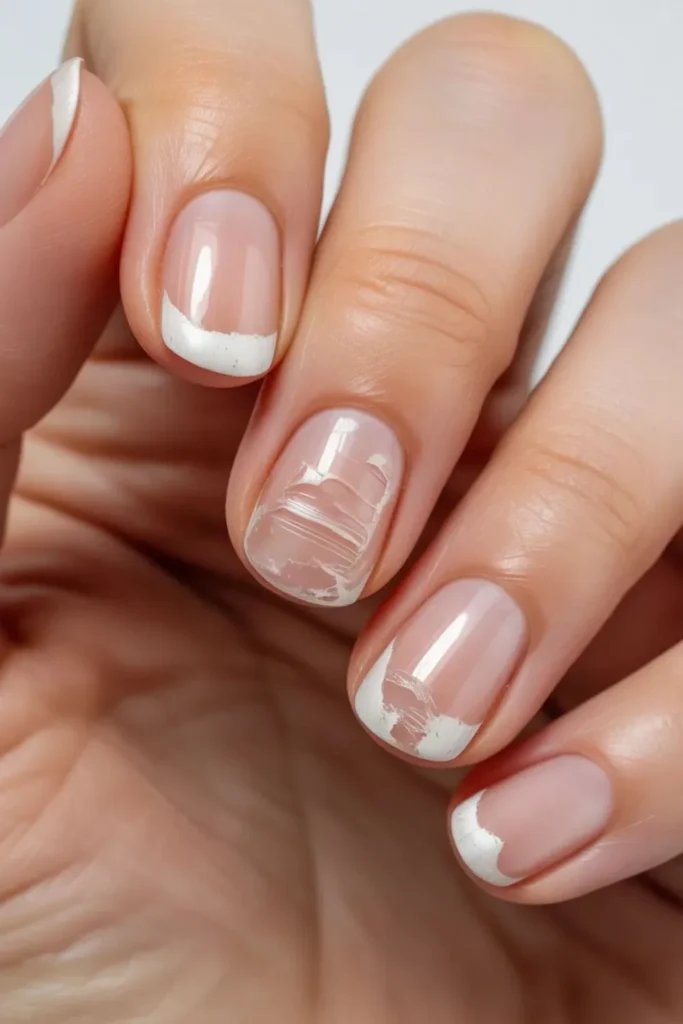
Gel nails are fantastic but they’re not without downsides. Being honest about can gel nails cause nail damage or thinning matters, because the answer is: yes, they can but only when done or removed incorrectly.
Can gel nails cause onycholysis? Yes. Onycholysis means the nail separates from the nail bed and aggressive removal, overfiling, or wearing gel too long without a break can trigger it. It sounds alarming, but it’s entirely preventable with proper technique. The risk with UV lamps and skin exposure is also real though minimal when sessions are short and SPF is applied beforehand.
| Risk | How Common | How to Prevent |
| Nail thinning | Common with poor removal | Gentle acetone soak off only |
| UV skin exposure | Low with LED lamps | Apply SPF before curing |
| Allergic reaction to gel | Rare | Patch test new products |
| Onycholysis | Uncommon | Proper removal, regular breaks |
| Moisture trapping | Moderate | Never apply over infected nails |
| Lifting and peeling | Very common | Thorough prep and thin coats |
What is the safest way to do gel nails? Prep thoroughly, apply thin coats, cure fully, and always remove with acetone soak never by force. Give your nails a break of a few days between sets when possible.
Are Gel Nails Worth It? (Salon vs Home Comparison)
Let’s talk numbers because this question deserves a straight answer. A gel manicure at a salon in the US typically costs $35–$65 per visit. In the UK, expect to pay £30–£55. If you’re getting your nails done every three weeks, that’s anywhere from $600–$1,100 per year in the US, or £500–£950 in the UK. A quality home kit costs $50–$120 / £40–£100 once. How to get salon quality gel nails at home is absolutely achievable, it just takes a few practice sessions.
That said, salons genuinely excel at certain things: complex nail art, speed, and the relaxation factor. If you love intricate designs or treat nail appointments as self-care time, salon visits still have a place. But for everyday chip resistant gel manicure results? Home wins easily.
| Factor | Salon | Home |
| Cost per set | $35–$65 / £30–£55 | $5–$10 / £4–£8 |
| Annual cost | $600–$1,100 / £500–£950 | $50–$120 / £40–£100 (kit) |
| Time commitment | Appointment + travel | Anytime, no travel |
| Finish quality | Professional | Improves with practice |
| Nail art complexity | High | Moderate (beginner) |
| Removal damage risk | Low (professional) | Low (with correct method) |
| Convenience | Low | Very high |
Common Mistakes to Avoid When Doing Gel Nails at Home
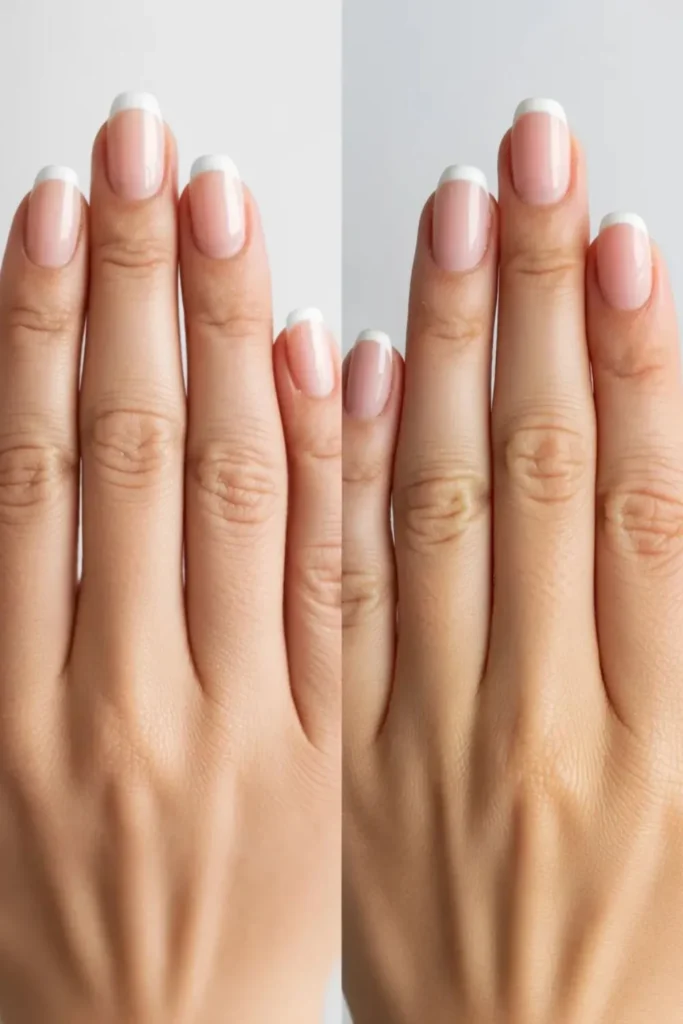
Even experienced DIYers make these mistakes. Common mistakes when doing gel nails at home are almost always fixable but it’s better to know them before they happen to you.
Why my gel polish bubbles or wrinkles is one of the most searched questions among home gel users. The answer? Thick coats, shaking the bottle, or applying gel too close to a heat source. Why gel nails peel off quickly at home almost always traces back to one thing: inadequate nail prep.
How to fix lifting gel nails at home if you catch a lift early, carefully file the edge and apply a thin layer of top coat over the area, then cure. It won’t fix a full lift but it can stop it from spreading.
See More About : 85 Soft Nail Design Ideas That Look Effortlessly Polished in 2026
| Mistake | Why It Happens | How to Avoid It |
| Skipping dehydrator | Rushing prep | Always include this step |
| Applying thick coats | Wanting quick coverage | Thin coats every single time |
| Gel flooding cuticles | Overloading the brush | Load less product, work carefully |
| Not capping free edge | Forgetting the step | Build it into your routine |
| Under-curing | Wrong lamp or short cure | Follow manufacturer times exactly |
| Incompatible lamp and gel | Buying mismatched products | Check compatibility before purchasing |
| Touching nails between coats | Habit | Keep hands flat and still |
| Skipping the inhibition wipe | Not knowing about it | Always wipe with IPA after top coat |
| Peeling gel off | Impatience | Soak off every single time |
| Rushing the whole process | Time pressure | Schedule enough time 90 minutes minimum for beginners |
Frequently Asked Questions
What’s the Best Way to Do Gel Nails at Home?
The best way to apply gel nail polish at home comes down to three things done really well: thorough nail prep, thin coats applied patiently, and full curing at every stage. Invest in a quality LED lamp it’s the single tool that makes the biggest difference. Follow the step-by-step process in this guide and you’ll get great results from your very first try.
Can I Put Gel Nails Over Fungus?
No and this isn’t something to take lightly. Gel traps moisture underneath it, which creates exactly the warm, dark environment fungal infections love. Applying gel over a fungal nail infection will make it significantly worse and delay proper treatment. See a doctor or dermatologist first, treat the infection fully, and wait until your nail is healthy before applying anything on top.
Can Gel Nails Cause Onycholysis?
Yes, they can but only through improper removal or extended wear. Can gel nails cause nail damage or thinning through onycholysis happens when gel is peeled off forcefully, filed down aggressively, or left on too long. Proper acetone soak off gel nails step by step removal eliminates this risk almost entirely. If you notice any nail separation, stop applying gel and give your nails time to recover.
How Long Do Gel Nails Last at Home?
With proper prep and good aftercare, a gel manicure at home lasts 2–3 weeks. Factors that shorten wear include skipping dehydrator, thick coats, not capping the free edge, and lots of water exposure. Gel nail maintenance routine habits daily cuticle oil, gloves for chores, avoiding peeling can push that to a full three weeks consistently.
Can You Do Gel Nails Without a Kit?
Not real gel nails. At minimum, you need a UV or LED lamp without it, the gel simply won’t cure. Can you do gel nails without a kit at home using gel-like polishes? Yes but expect 5–7 days of wear, not 2–3 weeks. For real results, a starter kit is the only way to go. The good news: best gel nail kit for beginners 2026 USA UK options start at around $25 / £20.
Why Do My Gel Nails Peel Off Quickly?
Nine times out of ten, it’s a prep issue. Oily nail plates, skipped dehydrator, gel touching the cuticle, or thick coats are the usual culprits. How to fix lifting gel nails at home starts with going back to basics: wipe with isopropyl alcohol before every step, apply thin layers, and cap every free edge. Nail prep truly is everything.
What Are Rich Girl Nails?
Rich girl nails are one of the biggest nail aesthetics trending across TikTok and Pinterest in 2025–2026. The look is clean, polished, and quietly luxurious long or medium oval/almond shaped nails in neutral tones like milky white, soft beige, sheer pink, or creamy nude. No chunky art, no drama, just effortlessly expensive-looking nails. Gel nails for short nails at home can absolutely achieve this aesthetic, a sheer milky gel shade with a glossy top coat on well-shaped shorter nails looks just as stunning as long ones.
Conclusion
You’ve got everything you need now. From understanding what gel nails actually are, to building your kit, prepping your nails properly, applying like a pro, and removing without damage this guide has walked you through the whole journey. How to do gel nails at home is a genuinely learnable skill. It takes practice, not talent.
Your first set won’t be perfect. That’s completely okay, nobody’s first attempt is. But here’s what’s true: every single set you do will be better than the last. Your prep will get faster, your coats will get smoother, and your results will start genuinely surprising you. Bookmark this guide, come back to it whenever you need a refresher, and enjoy the process of building a skill that saves you real money and delivers beautiful results on your own schedule. Now go pick your first colour.